Making tea bags is a simple process, and the only part that takes a bit of work is preparing the loose herbs. If your Herbalist gave you specific herbs to use, then this will be easy. If not, it's going to take a bit of research on your part. See, herbs aren't as benign as they look. Sure, they're safe for the most part, but they're also very effective, and some of the most common herbs have strong effects that can clash with the effects of other herbs. I recommend beginners stick to one herb they've researched thoroughly and stay away from making herbal combinations without the guidance of their holistic health practitioner.
Here's a fun picture story of the process once you've got your recipe lined up!
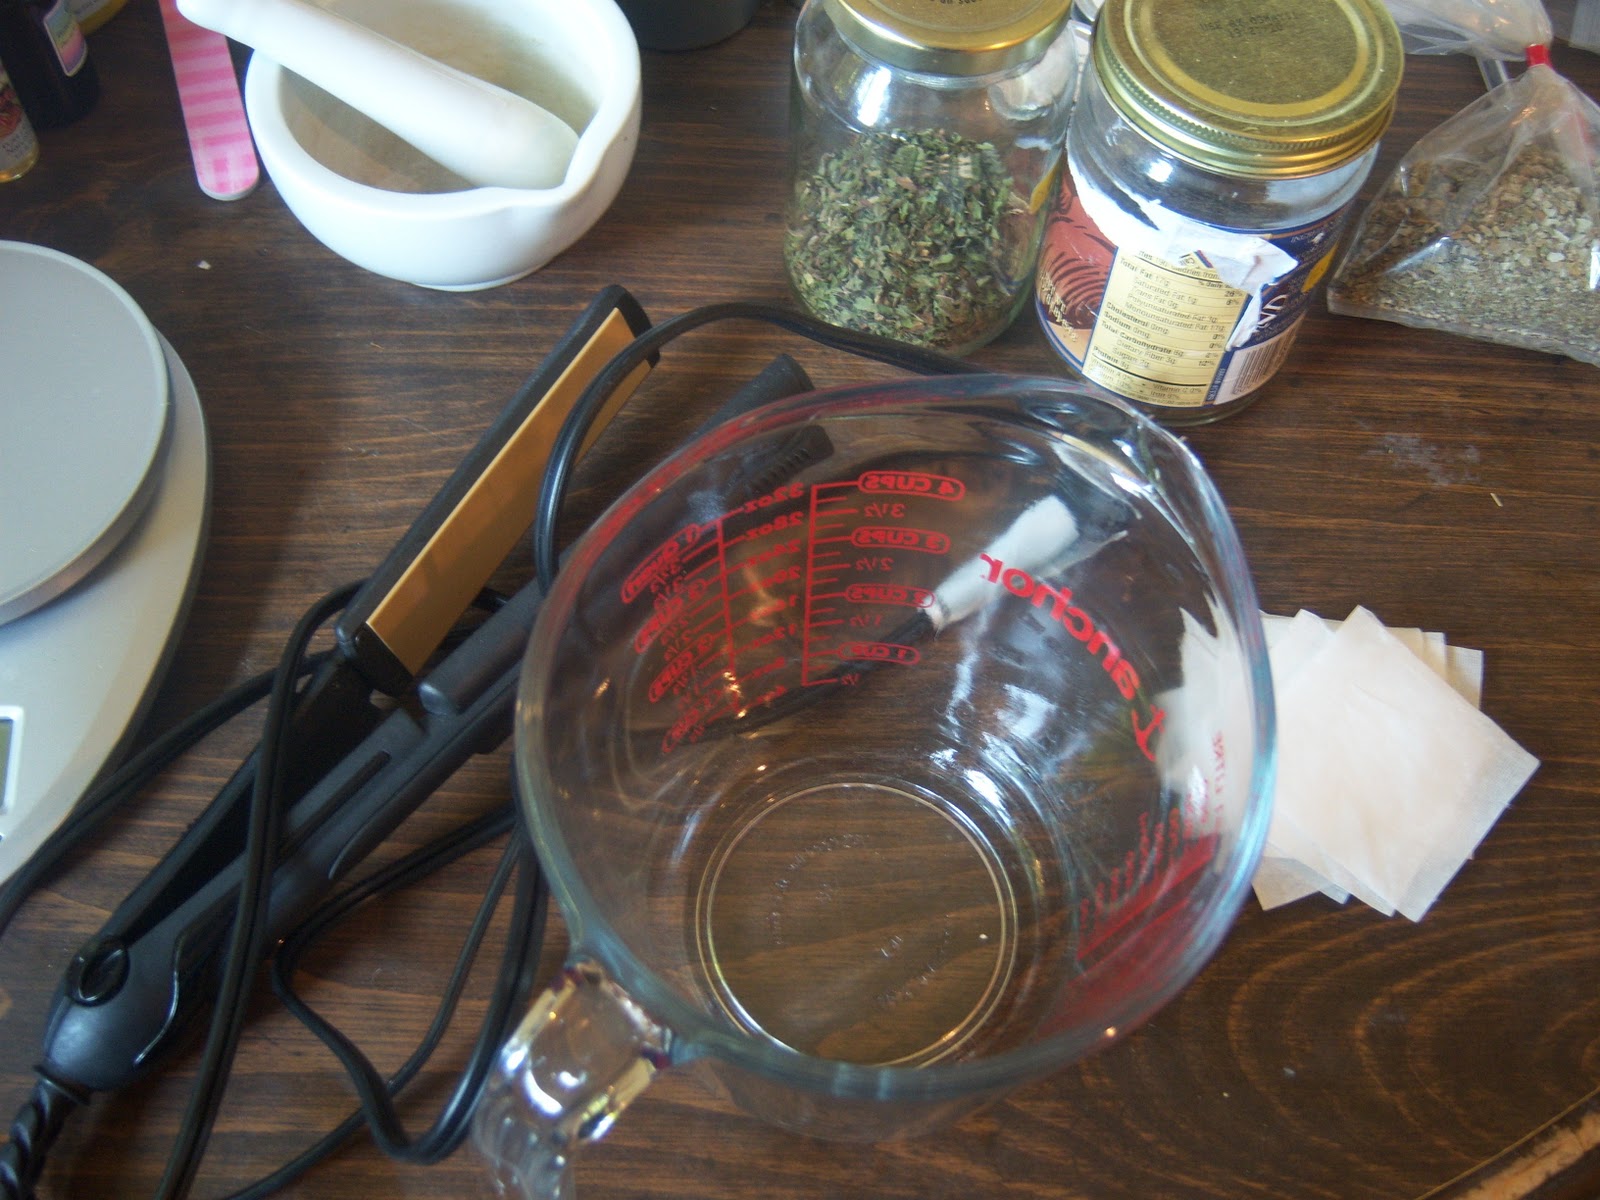
What you'll need:
Your herbs
Heat sealing tea bags
A large bowl to hold your herbs
A flat iron (one made for hair or for clothes- no steam!)
A measuring spoon
I love these bags! I've also ordered some in bulk from Z Natural Foods with great results. Now, make sure you get the right size. They have very small ones, regular size (which is what we're using today), and they also make giant bags for large batches of sun tea or herbal bath blends. These shouldn't run you more than $5.00 for about 40-50.

Here's our tea blend for today- this is a special order for a Respiratory Tonic I'm making to ship out. Be sure to mix your herbs well if you're using more than one.

Generally, a one cup serving requires 1 teaspoon of herb. Get your measuring spoon and add your loose herb to the bag. Now, if you've got a large herb like Calendula with whole flower heads, it helps to give it a few pulses in the Magic Bullet, Vitamix, or other large blender. Don't powder it, but do break up the larger parts so the pieces are uniform.


There, the herbs are packed into the bag, and now it's time to seal it! It sounds complicated, but it isn't. Put your flat iron on a medium high heat for a quick seal, and hold the open end of the tea bag closed while snapping it shut inside the irons. Hold it tight and give it a few good seconds. I usually count to five.

How easy was that! Don't bother paying $6.00 for a box of 16 tea bags! Make a supply for yourself and keep them on hand.

The amount you should make depends on how often you plan on using them. If you made sure to purchase fresh herbs, they should keep their effectiveness for at least 6 months, but if you don't use them up before a year, you'll need to compost them and replace them with a fresh batch. Only make as much as you'll use, and keep purchasing a fresh supply as often as possible.
Let's go over the best kind of herbs to use in tea bags. You'll want to make sure you're using a delicate plant part, such as a flower or a leaf. Making a cup of herbal tea (it's really called an infusion, but we'll keep this simple) with roots and barks and other tough, woody material requires a special process called decoction, so make sure you're using the right part of the plant. All of the classics fit into this category, such as Chamomile, any of the mint leaves, Tea leaves, Lavender, and Lemon Balm.
Make sure to leave me a comment and let me know what kind of tea bags you're going to try first! You can also leave any questions or comments, and I'll try to answer them :)
Here you have to provide such an awesome and detailed information regarding the making own herbal tea bags that very best for us to make herbal tea bags at own home.
ReplyDeleteSA-WEET!!! I love tea, and often wondered how I could create my own... Thanks for sharing this info! Looks fun.
ReplyDeleteI am agree with your information i love Herbal Tea it is really very beatifically for health..
ReplyDeleteThank you for post.